Stain only sticks to clean, properly prepped wood. The number one reason deck stain fails early? It was applied to a deck that wasn't properly cleaned. Here's how the pros prep wood so the new finish actually lasts.
Why deck prep is more important than the stain itself
Louisville homeowners spend real money on quality deck stains — Defy, Armstrong Clark, Cabot, TWP — and then apply them to wood that hasn't been properly cleaned and brightened. Within a season or two, the stain is peeling, flaking, or wearing unevenly. The stain gets blamed, but the prep was the problem.
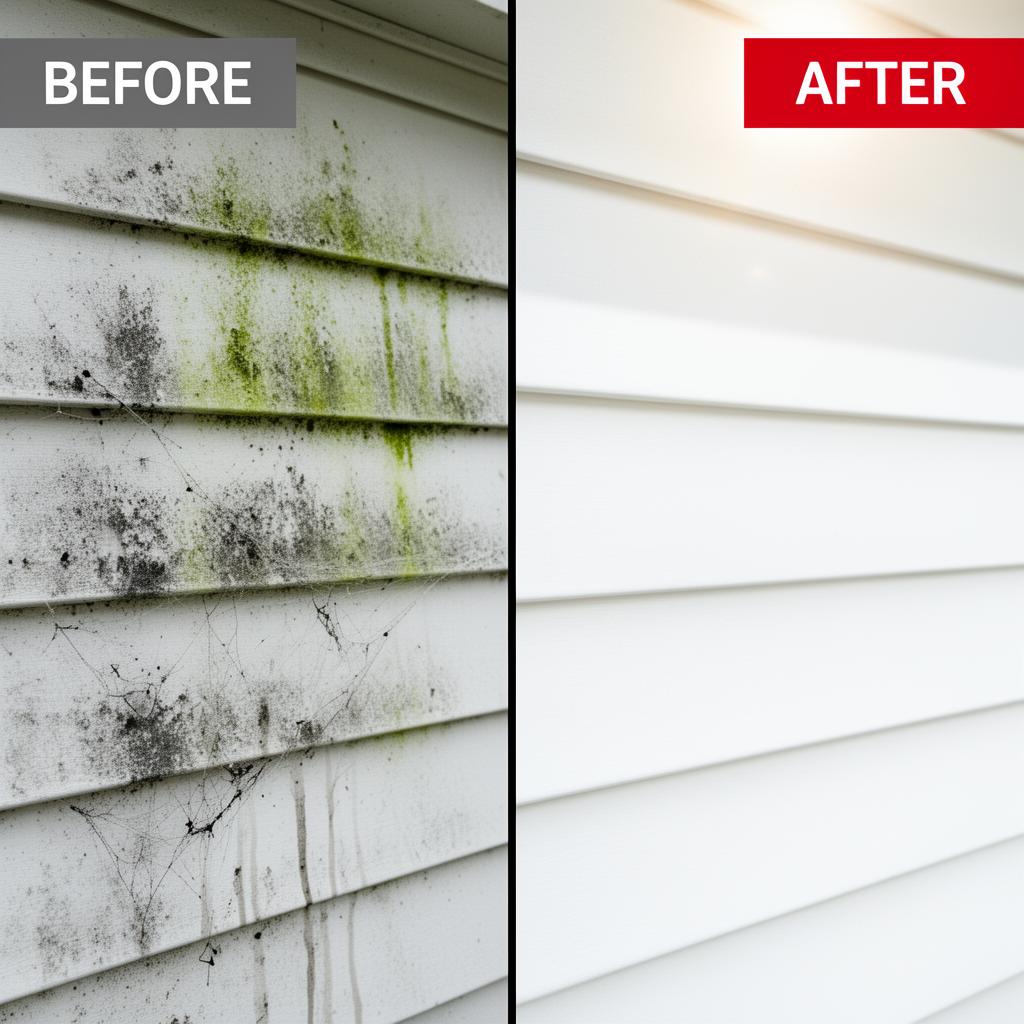
Paint and stain are adhesion products. They bond to whatever surface they're applied to. If that surface has UV-damaged wood cells (gray oxidation), old failed stain, biological growth, dirt or mill glaze from manufacture, the new finish bonds to those contaminants rather than the wood itself. The result is a finish that fails from below rather than from normal wear from above.
Step 1: Clear and inspect
Move all furniture, planters, grills, potted plants and any other items off the deck and away from the perimeter. This isn't just about cleaning access — it's an opportunity to inspect the deck while it's empty.
Look for: popped nails or screws that need to be set flush, soft or spongy boards that indicate beginning rot, loose railings, wobbly post bases, and cracked or split boards. All structural repairs should happen before cleaning, not after. Getting the deck wet and then doing construction work disturbs the prep and potentially introduces new staining.
Step 2: Apply a wood-safe cleaner
The right cleaner depends on the wood's condition and what you're dealing with. For most Louisville decks, a professional wood cleaner containing sodium percarbonate lifts the gray surface layer, kills biological growth, and breaks down old failed stain or sealer.
Apply the cleaner generously and allow it to dwell — typically 10–15 minutes, depending on the product and conditions. During dwell time, the chemistry is working: breaking down the gray oxidized layer, killing mold and mildew, and loosening whatever is on top of the wood. Rushing this step is the single most common cause of poor prep results.
Do not let the cleaner dry on the wood. If you're working in hot, sunny conditions, keep the wood damp by misting it while the cleaner dwells.
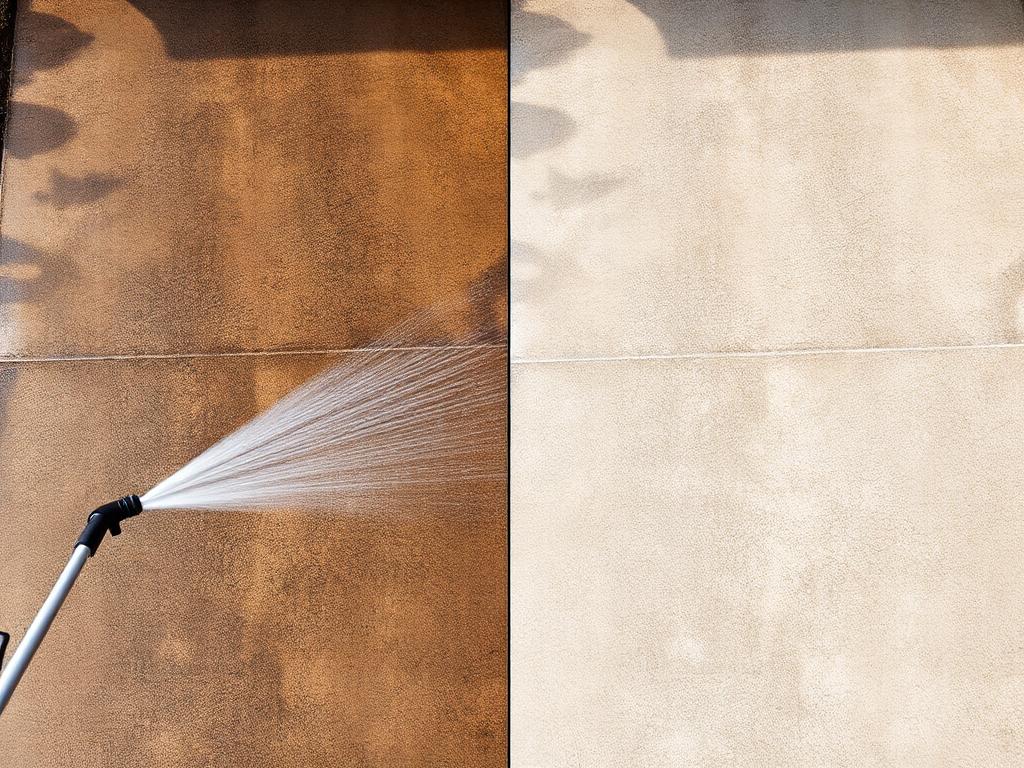
Step 3: Soft wash the deck — don't blast it
Low pressure with the right cleaner does the work. A pressure wand at full power on softwood like pine or cedar will raise and splinter the grain — creating a fuzzy, uneven surface that stain absorbs unevenly and that splinters underfoot. Even on hardwoods, excessive pressure can cause checking (grain cracking) and surface damage.
Professional soft wash equipment uses low pressure to rinse the cleaner and lifted material away from the wood surface without damaging the grain. The correct technique: rinse parallel to the wood grain, not across it, at consistent distance from the surface.
Step 4: Brighten the wood
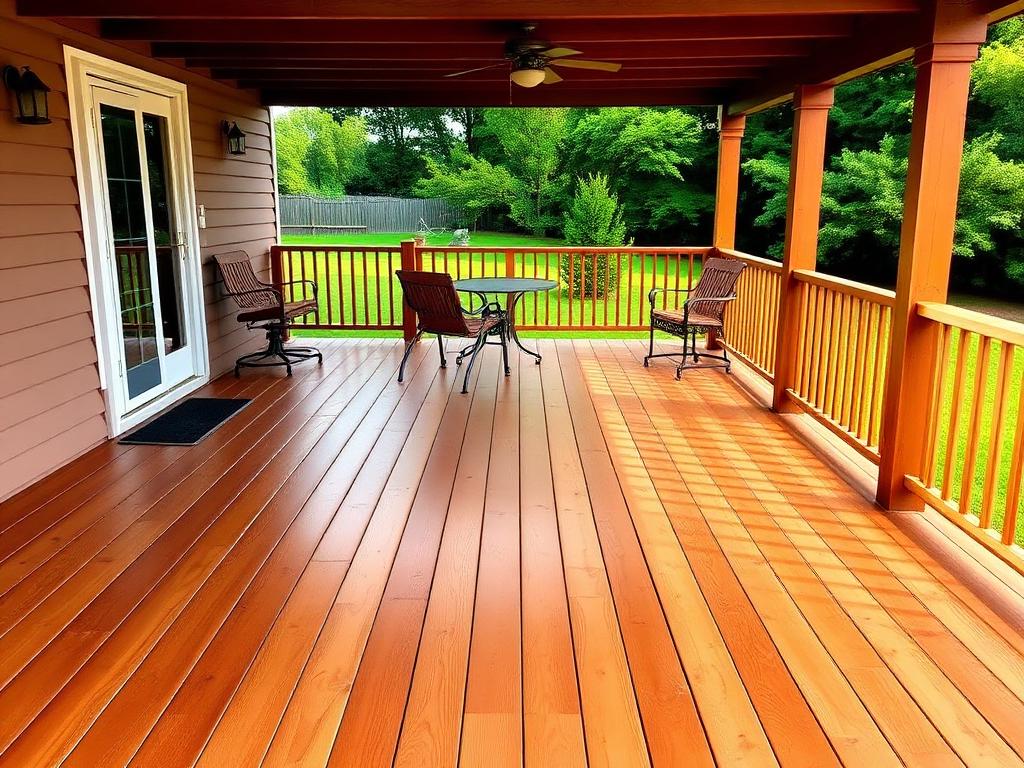
This step is what separates a professional prep from a DIY job that looks mediocre even after staining. A wood brightener — typically an oxalic acid or citric acid formulation — neutralizes the alkaline cleaner and restores the wood's natural pH. More importantly, it chemically lifts the remaining gray tannins and oxidation, returning the boards to their natural warm tone.
Applied after cleaning and rinsed thoroughly, a brightener makes the wood look like it was just milled. The color is even, the grain is open, and the surface is chemically prepared to accept stain or sealer at maximum penetration depth. Without this step, the wood looks clean but remains slightly gray and the stain doesn't penetrate as deeply or hold as long.
Step 5: Let it dry — really dry
This is the most commonly rushed step in the entire process. Stain applied to wood that still has elevated moisture content — even if it looks dry on the surface — will trap moisture beneath the finish and cause peeling within a season.
The general rule for Louisville's climate:
- Warm weather (above 70°F), low humidity: 48 hours after cleaning
- Moderate weather (55–70°F), typical humidity: 48–72 hours
- Cool weather or high humidity: 72–96 hours or until moisture meter reads below 15%
A moisture meter is the definitive tool here. Most professional painters and stain applicators carry one. If you're doing this yourself, they're available at hardware stores for under $30 and tell you definitively whether the wood is ready.
What we do differently for pre-stain prep
When we clean a deck that's going to be stained, we add the brightener step that's often skipped on standard cleanings, pay extra attention to ensuring all old failed stain is removed (anything that's peeling or flaking needs to come off completely), and communicate clearly with the painter or stain applicator about drying time expectations. We've done enough pre-stain preps in Louisville to have this timing dialed in for our climate.
Getting a quote for deck cleaning in Louisville
Call or text (502) 777-8024 or use the quote form on our site. If you're having the deck stained, let us know — we'll make sure the prep is done correctly for that application.
Understanding the gray: what's actually happening to your deck
That gray color that wooden decks develop isn't just weathering in the atmospheric sense — it's the combination of two distinct processes. First, UV radiation breaks down lignin, the natural polymer that gives wood its strength and warm color. The lignin oxidizes and washes away with rain, leaving the gray cellulose fibers on the surface exposed. This is the "silvering" that untreated wood develops — it's the natural aging process of wood fiber.
Second, biological growth — mold, mildew, algae and the organic compounds they produce — establishes itself in the porous surface of weathered wood. The gray you see is often a mixture of oxidized wood fibers and biological contamination. These two processes reinforce each other: oxidized wood is more porous and absorbent, making it more hospitable to biological growth; biological growth further breaks down the wood surface.
The wood brightener step in professional prep reverses the oxidation component — it chemically strips the gray surface layer and restores the original warm wood tone. This isn't cosmetic; it's structural prep. The restored surface has a more consistent color and an open grain structure that accepts stain evenly and penetrates deeply.
Choosing the right stain type after cleaning
A properly cleaned and brightened deck is ready to accept any stain or sealer product, but the choice of product affects how long the results last and how the deck looks. The main categories:
- Penetrating oil stains (TWP, Armstrong Clark, Defy): These soak into the wood rather than sitting on top. They enhance the natural grain, provide UV protection, and are relatively easy to re-coat — you clean and reapply without stripping. They're the most popular choice for horizontal deck surfaces that take heavy foot traffic and UV exposure.
- Film-forming stains (most latex deck stains): These create a film on the wood surface. They can provide more color coverage but peel as they age, requiring more prep work at recoat time. Better for vertical surfaces like fence rails that don't take foot traffic.
- Clear sealers: Water repellency without significant UV protection. Fine for under-covered decks, but unprotected wood exposed to full sun will still gray out with UV radiation even with a clear sealer. Best combined with a UV-inhibiting formula.
Your stain applicator will have a product recommendation. The most important thing from the prep side: whichever product you're using, it will perform significantly better on a properly cleaned and brightened surface than on one that was just pressure-rinsed.
The two-wash vs. one-wash debate
Some deck prep processes use a two-step system: an alkaline cleaner first (to remove gray and biological growth), followed by an acid brightener (to neutralize the alkaline and open the grain). Others use a single-step oxalic acid cleaner that handles both tasks simultaneously.
For most Louisville decks in moderate-to-good condition, a quality single-step process with brightener produces excellent results. For heavily weathered decks with significant biological buildup — decks that haven't been cleaned in 5+ years, or those with visible black mildew embedded in the grain — a two-step process delivers more thorough cleaning and more consistent results.
We'll assess which approach your deck needs during the estimate. Don't let anyone upsell you to a two-step process if your deck is in reasonable shape — but don't accept a one-step rinse on heavily contaminated wood and expect stain to adhere properly.
Composite decks: not maintenance-free
One persistent myth among homeowners: composite decks are maintenance-free and never need cleaning before staining or re-coating. This is incorrect on both counts.
While composite decking doesn't gray out the way wood does, it does develop mold and mildew growth — particularly in the grooves between boards and on the shaded undersides of rails. Many composite products also develop surface staining from tannin and organic runoff. Composite manufacturers universally recommend cleaning with approved solutions; most void warranties on products stained or coated over contaminated surfaces.
If your composite deck has a pigmented coating or you're planning to apply one, the cleaning and prep requirements are similar to wood: clean thoroughly, ensure no biological growth remains, and let the surface dry completely before applying any product. Check your composite manufacturer's specific recommendations before we start — some composites have restrictions on what cleaning solutions are safe to use.
Scheduling around Louisville's weather
The ideal window for deck cleaning and staining in Louisville is late spring (May) or early fall (September–October). These periods offer temperatures in the 55–75°F range, lower humidity than midsummer, and more predictable dry windows for the drying phase between cleaning and staining.
Midsummer cleaning and staining is possible but requires more careful scheduling around afternoon thunderstorms, which are a regular feature of Kentucky summers. We'll coordinate with your stain applicator on timing — the goal is a clean surface that has 48–72 dry hours before the first coat goes down.
Call or text (502) 777-8024 to schedule a deck prep estimate. We'll assess the condition, quote the cleaning, and give you the drying-time recommendation so your stain applicator knows exactly when to show up.